Ultimate Guide to the My Disney Experience App
Whether you’ve been out a lot lately, or not, you’re no stranger to one obvious fact: Since 2020, lots of businesses have taken things online, and theme parks are no different.
Not even the most magical one.
In fact, starting in 2013 Disney launched one of it’s most controversial customer experiences: the My Disney Experience App.
And I won’t lie, back in the day it was buggy and slow; but as of today, it’s hard to survive a Disney day without this amazing tool!
You see, My Disney Experience is your one stop shop to accessing all things Disney.
With this app you can:
- check ride wait times
- make, modify, and cancel dining reservations
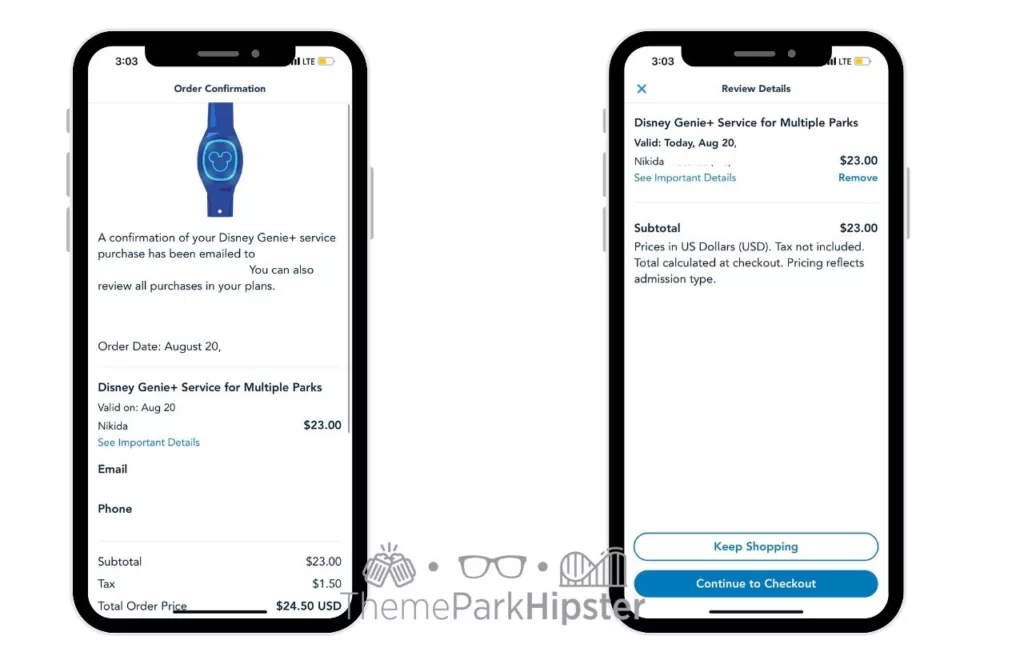
- create Genie+ Reservations
- view park maps and more!
Or…in other words…save yourself from carrying around lots of papers, waiting on tons of customer service lines, and dreading long hold wait times on the phone.
I promise I’ll answer every question you already have about the My Disney Experience app, and even the ones you haven’t thought of yet…
So let’s get to it!
THIS POST MAY CONTAIN AFFILIATE LINKS. PLEASE READ MY DISCLOSURE FOR MORE INFO. Which means if you click on certain links, I may receive a small commission at no additional charge to you.
What is the My Disney Experience App, exactly?
Like I touched on before, the My Disney Experience is an app available for iPhone and Android.
And its promising rating of 4.6 Stars and #20 in Travel Apps is for good reason – you can do pretty much EVERYTHING you need to in regards to your park stay on this app.
Want to buy in park photos before, during, or after your stay? No need to stand in line at the photo kiosk anymore, simply do it on the My Disney Experience App.
Want to check what time a certain character is appearing on Disney property?
You don’t have to seek out a Cast Member anymore, simply hop onto My Disney Experience and use the “Character” selection to find out for yourself.
Ready to plan your theme park trip? Watch the best vacation planning tips on YouTube. Get started here!
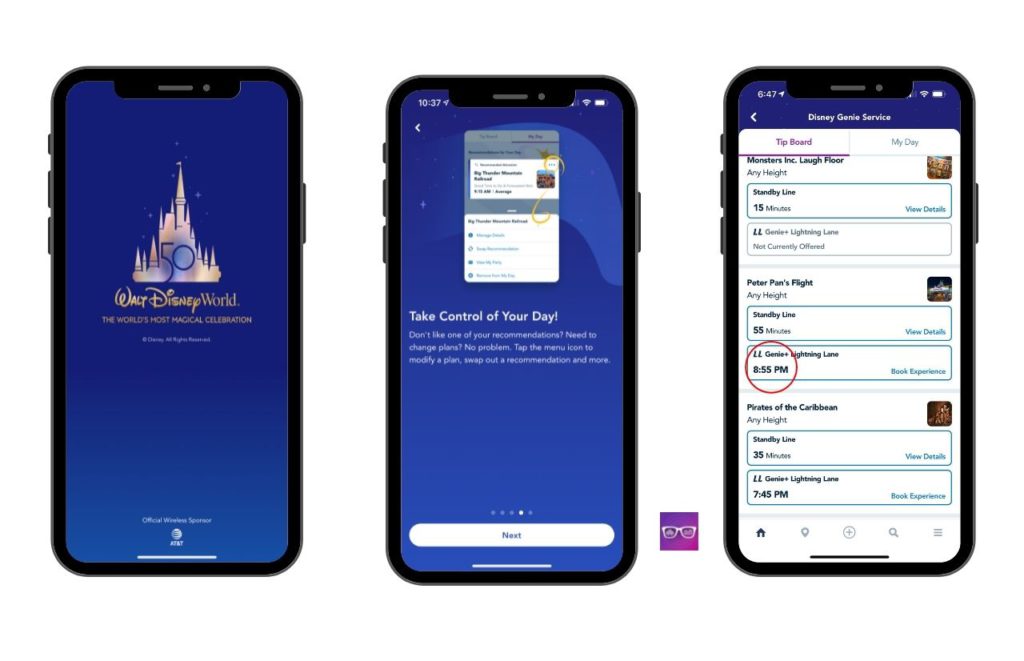
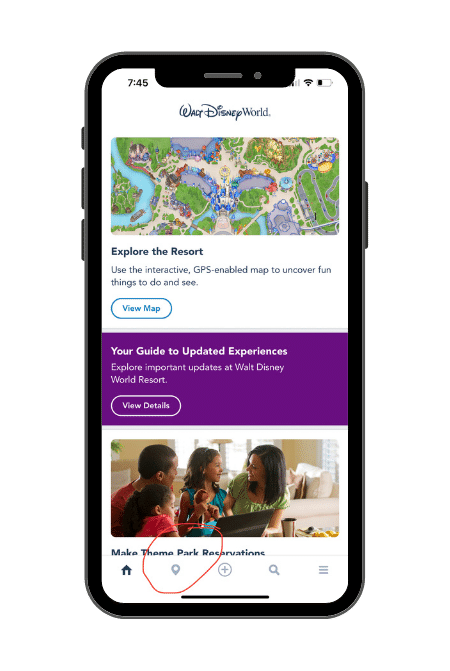
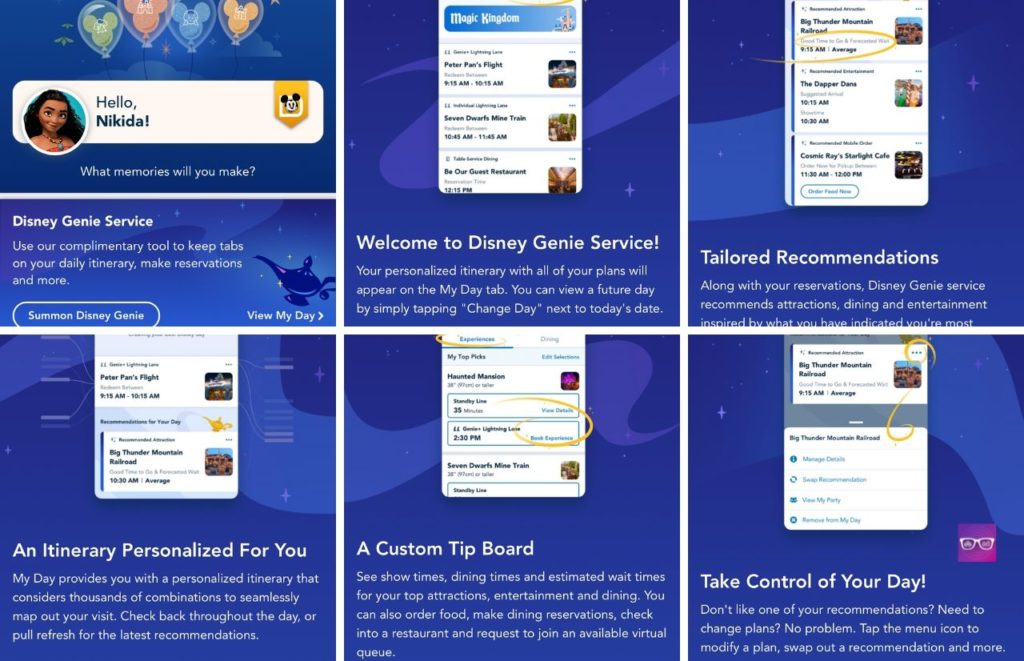
Basically, the location icon on the bottom left of the app gives you access to the app’s most used features, including:
- Ride and Attraction Wait Times
- Attraction Descriptions and Locations
- Dining Locations and Reservations
- Entertainment Locations and Schedules
- Restroom Locations
- Special Events and Tours Information
- PhotoPass Purchasing and Photo Preview
- Guest Services Locations
- Shop Locations
- All Things related to Resort Hotels
- Transportation
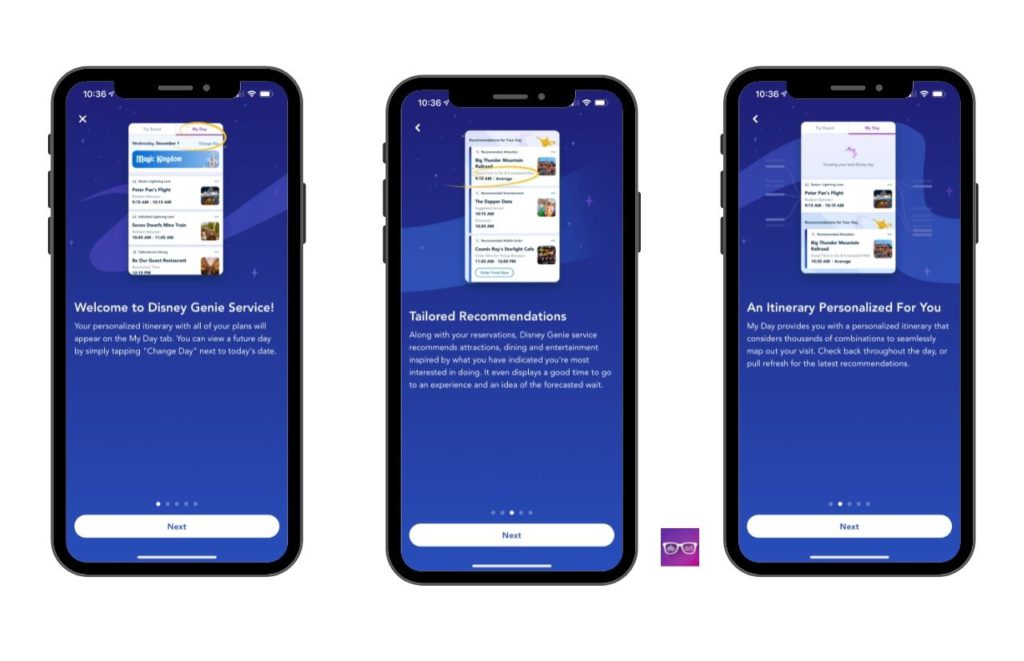
- Disney Genie+/Lightning Lane Features
Basically, every amenity that you would usually have to call up, talk to someone, or have a special code or key to access has been put onto this app.
So you can start taking control of your park visit without relying on anyone but yourself and the My Disney Experience app.
Save on your Disney World tickets with Tripadvisor TODAY!
But, How Does My Disney Experience Work?
My Disney Experience is able to work so efficiently by combining two components for maximum personalization: your current location, and your My Disney Experience account.
The My Disney Experience app works best when it tracks your location, because it shows you where you are in the park in real time.
This is extra helpful when planning which ride to go to next, where the closest dining location is, or even, where to find a restroom.
And don’t worry, you don’t have to be on Disney’s complimentary Wi-Fi for the real-time location tracking to work, you just have to have “Location” enabled in your phone settings.
So, if you’re typically someone who enjoys their privacy, take comfort in the fact that you can always enable location tracking for My Disney Experience during your park day, and turn it off again as soon as you exit Disney Property.
Now, the second and cooler part of the My Disney Experience app works by linking to your My Disney Experience account.
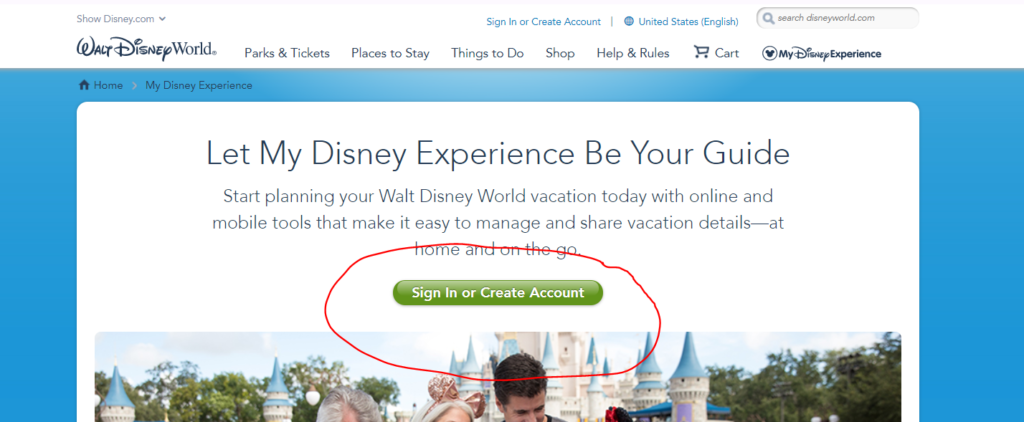
This account is something you can make after downloading the app – “Create an Account” is one of the first options you’ll see upon opening the app – or even before, by clicking here.
Now take note, anything you might have already done on your Disney account with the website, including buying park tickets, booking your Disney hotel, or making dining reservations will all transfer over to the My Disney Experience app.
So, if you already have your email address linked to the Disney planning website, odds are you already have a My Disney Experience account that’ll be compatible with the app!
How to Log into MyDisney Experience App
- When you open the My Disney Experience app, click “Sign in” and try out that email and login information first, before jumping in and creating a new account.
- Once you’ve created and/or signed into your Disney account on the My Disney Experience app, you’ll see that all your selections and reservations should have carried over and will update in real time from the website to the app.
- Easy peasy, right?
3 Simple Tips To Remember for Using the My Disney Experience App
When it comes to using My Disney Experience, there are definitely some trips and tricks you might want to consider before jumping right in.
1. Download My Disney Experience before getting to Disney Property
If you’re anything like me, as soon as you set foot on Disney Property, you want to go on full magical vacation mode!
The last thing you want to be worrying about is app bugs or account linking issues.
To avoid these headaches, download My Disney Experience and link/create your account (as we discussed above) BEFORE your visit.
Also, check that all your previously purchased reservations and park tickets have properly linked in the app.
That way once you arrive on Disney Property, you know you can hit the ground running!
ORDER NOW to secure your Walt Disney World theme park ticket! GET MY TICKETS.
2. Connect your Magic Bands/park tickets before your trip
Just like Tip #1 above, Tip #2 is encouraging you to be prepared before your trip even begins.
Because let’s be honest, this app is the most convenient when it saves you trip planning headaches, as opposed to creating more.
So, to maximize how easy this app can make your life, you’ll want to connect your MagicBands and/or park tickets beforehand.
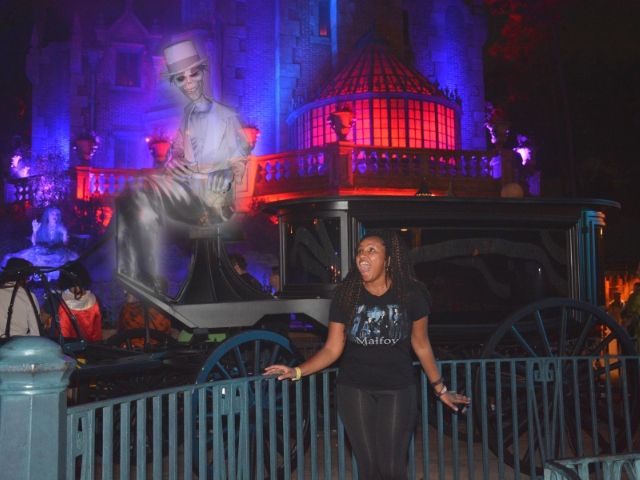
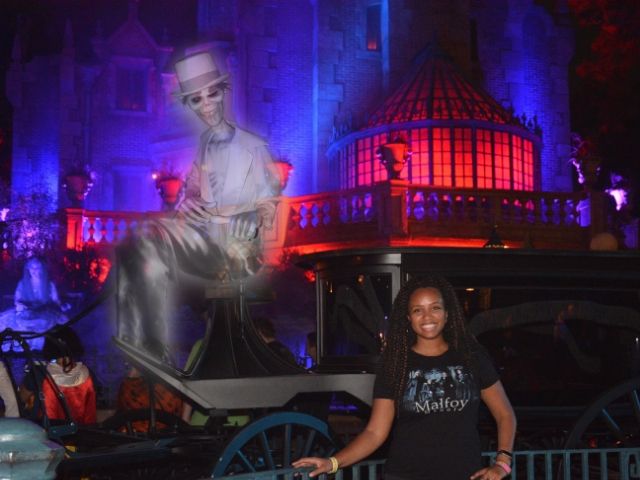
Doing this means that PhotoPass will effortlessly connect right to your app – so that within 30-minutes of having your photo taken, you can review it on your phone.
Pretty cool, right?
To make this possible, you will have to link both your Magic Band and park ticket. (If you don’t have a MagicBand, don’t sweat it, your park ticket works just fine too!)
For step by step instructions on how to link these, scroll down to our FAQ section below!
3. Guest Services is still your friend!
“Since My Disney Experience exists, can I still talk to a person for help if I need to?” Of course you can!
Every single Disney theme park, resort front desk, and even Disney Springs still has Guest Services available to you and they are still happy to answer any and all questions.
Including any bugs you might be finding with the My Disney Experience app.
And of course, help is still always a chat, email, or phone call away when you’re at Disney World!
Planning a trip soon? If so, read the Disney Vacation Planning Guide for your next dream trip!
My Disney Experience Frequently Asked Questions
Let’s go through a few of the most common questions asked about this Disney feature.

How do I link a ticket or Magic Band?
Linking a park ticket and/or Magic Band that you already hold is crucial to making the most out of the My Disney Experience app!
- If you already hold a park ticket, make sure you’re signed into your account on the app. If not, sign in.
- Link the ticket by clicking the three lines in the bottom right hand corner of the app.
- On the next menu that appears click “Tickets and Passes,” and then the blue plus sign in the top right corner.
- This gives you the option to buy a ticket, or more importantly, link a ticket or pass that you may already have.
- The rest is pretty self explanatory (either scan the ticket’s barcode using your phone camera, or type in the ticket ID code manually).
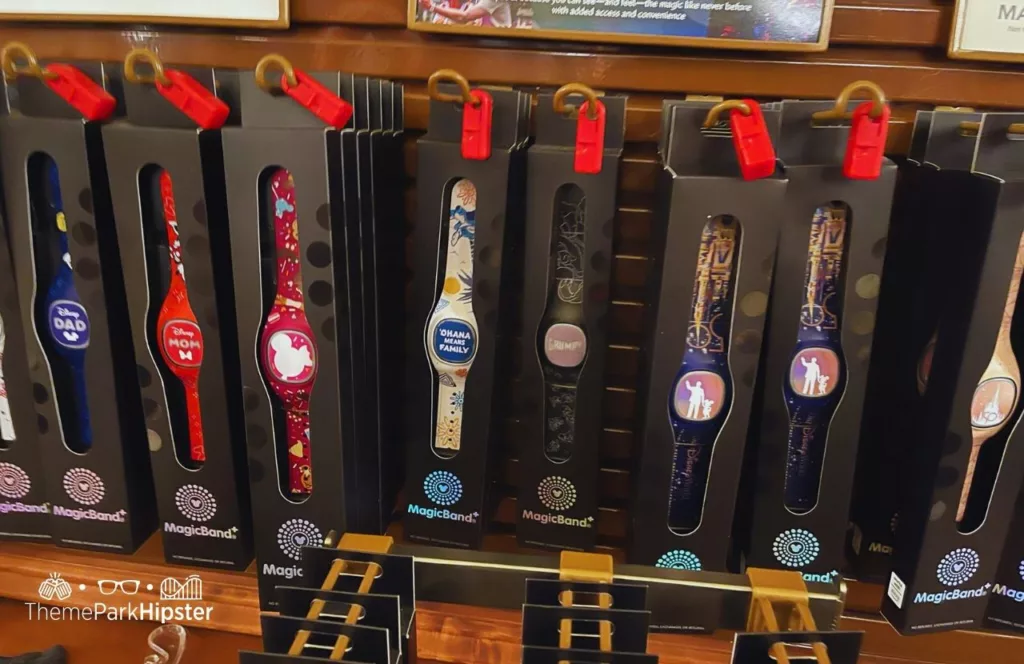
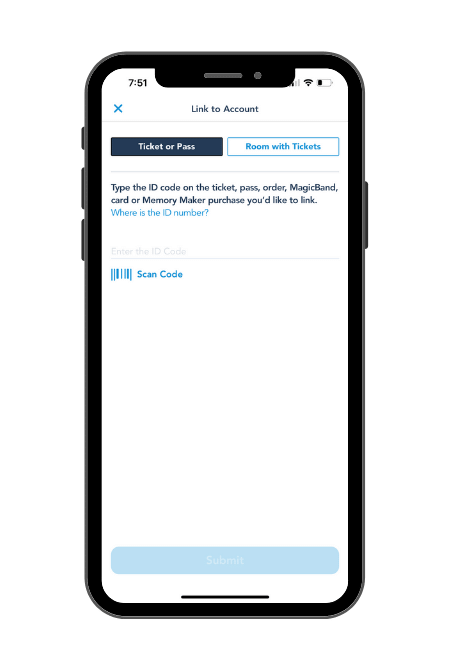
- To link a Magic Band, you’ll start off using that same menu – the three lines in the bottom right hand corner of the app.
- Then scroll down and click on “Link to Account.” Here you’ll find many options, including linking your Magic Band, previous Dining Reservations, Hotel Reservations, a Memory Maker account, etc.
WATCH: 13 Beginner Tips for Going to Disney World This Year!
How do I make a Genie+ or Dining Reservation on My Disney Experience?
To be honest, linking your park tickets to your My Disney Experience is the hardest part – once that’s over with, everything else is easy!
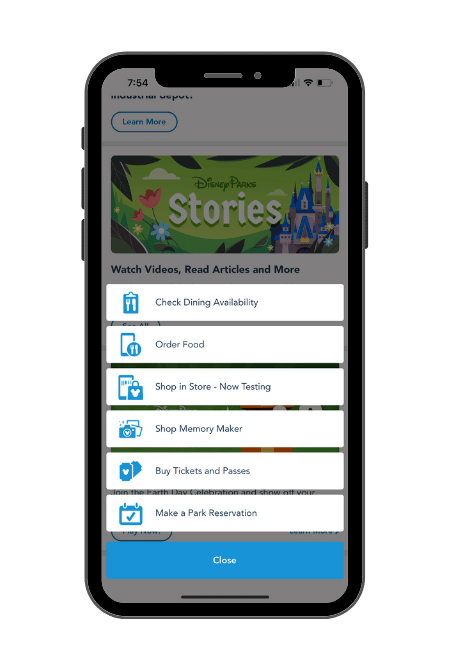
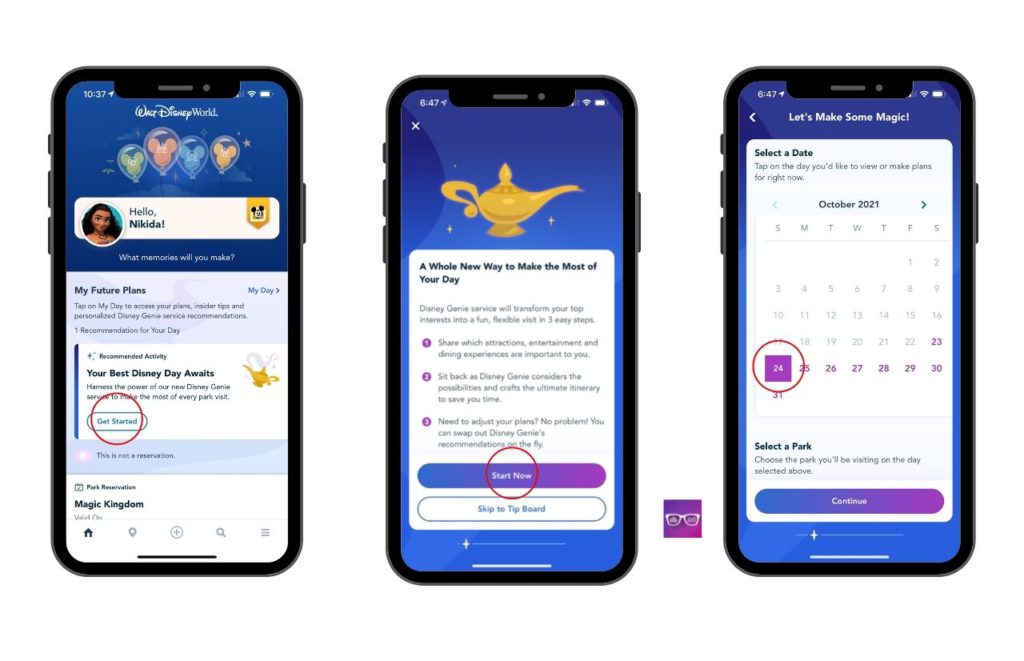
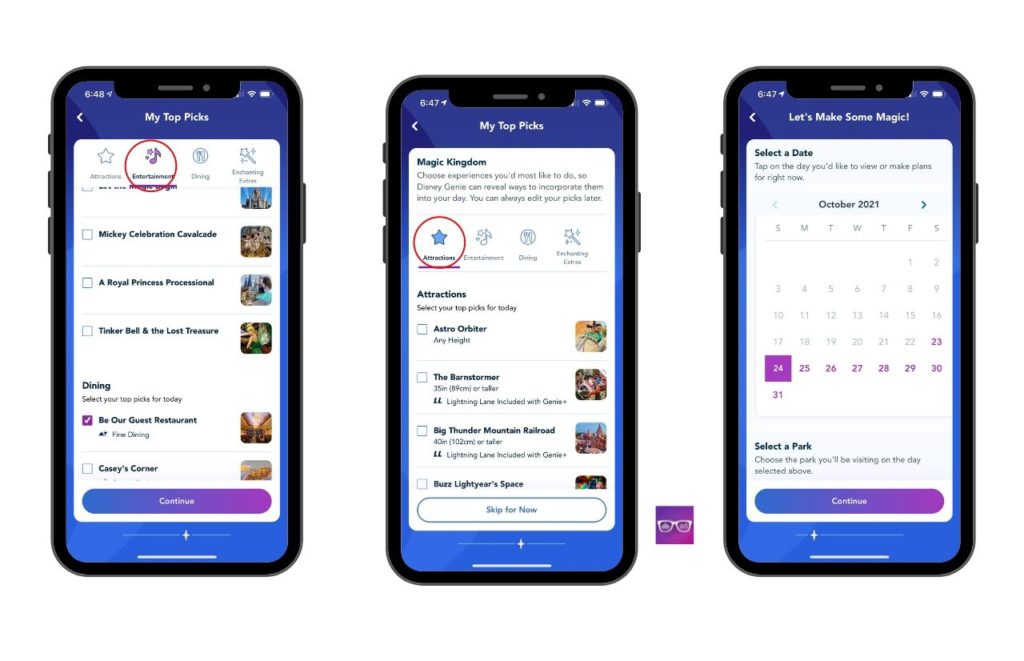
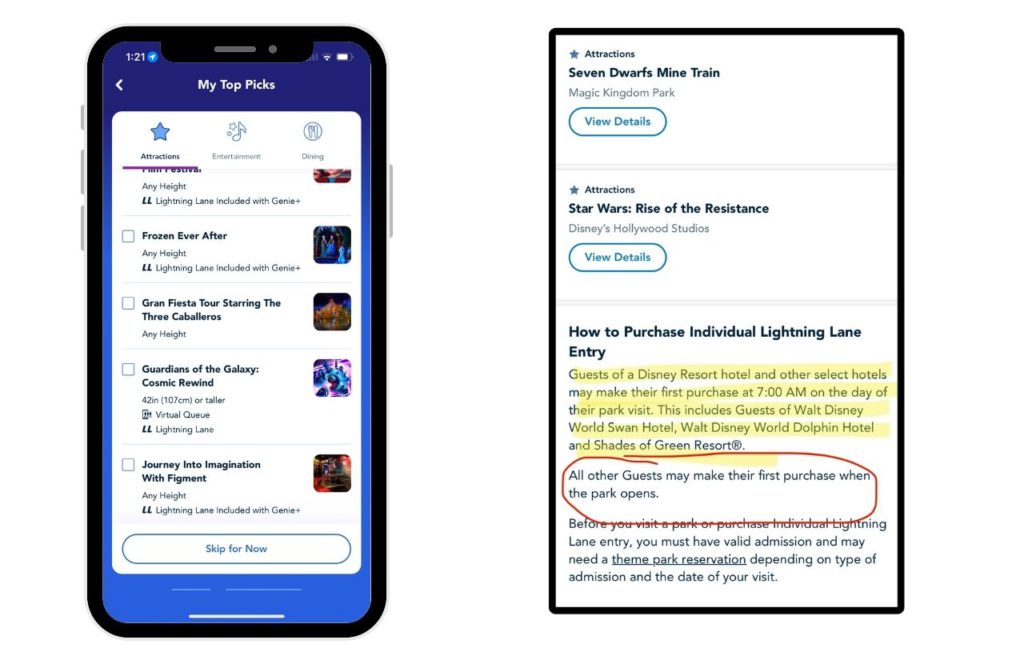
You can make both a Genie+/Lightning Lane and Dining Reservation, simply press the tiny plus sign icon (+) at the center of the bottom of the app.
This will open up a new menu where you’ll see quite a few options, including: “Get Genie+” and “Reserve Dining.”
Click whatever one applies to you, and then a calendar will pop up, allowing you to select your desired date and time for the reservation.
Make sure you continue through all the prompts until your reservations have been confirmed!
But remember, none of this can be done until you link your account and tickets in the first place, so make sure you do that in the section above!
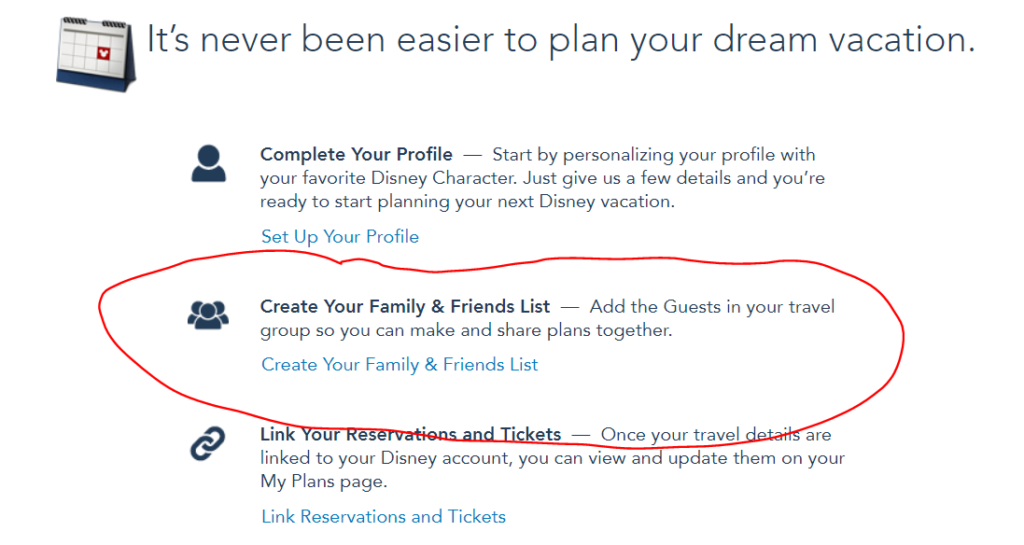
How do I add a guest to My Disney Experience?
If someone/multiple people will be joining you on your park day, you might find it helpful to add them to your My Disney Experience app.
That way all members of your party can access, create, modify, and/or cancel reservations or Dining Experiences that may include both/all of you.
To do this, go to that same three horizontal line icon on the bottom right hand corner of the app and scroll down a bit until you see “My Profile.”
Click here, and along the top, select “Family & Friends List.” Here you’ll see a blue plus sign icon with the words “Add a Guest.”
Next you’ll be prompted to enter their name and information, and can choose whether or not you want to completely control their planning, or share planning privileges with them.
If you select to share planning, you’ll be prompted to enter their My Disney Experience account email…
…and then…BIPPITY BOPPITY BOO! You’ll officially be virtual Disney friends!
Hipster Power Tip: I have found that this step is much easier if it’s done on your computer before you get to Walt Disney World.
Should I link everyone in my party to the My Disney Experience App?
This is completely up to you, although I will say it is quite convenient! It means only one person needs to go in and make changes or cancellations during your trip.
And, it also means that multiple people can control your plans, which is good if some people in your party want to hang by the pool, per say, while others still want to hit the park running!
Recommended: 5 Best Disney World Deluxe Resorts to Stay at Right Now
How old do you have to be to make a My Disney Experience account?
When you create a My Disney Experience account, you’ll be asked to enter your birthday, including the year you were born. If Disney calculates that you are less than 13 years old, then you’ll be ineligible for an account.
Does My Disney Experience use a lot of battery life?
While recent app updates have worked to fix this…I won’t lie. My Disney Experience can use up quite a bit of energy.
So, what do I recommend? A few things.
- First, if you have multiple people in your party, have them all install the app; that way you won’t have to rely on just one phone for all your planning and location tracking needs.
- Secondly, close out the app when you’re not using it. This will stop background activity the app might be running that you have no idea about.
- And thirdly, invest in a portable battery pack! Or, better yet, become a part of Disney’s Fuel Rod family.
This portable charge vending machine is available many places nationwide, beyond Disney World.
- NEVER BUY A CABLE AGAIN: With the myCharge HubMax portable charger power bank with wall plug, no extra cables are needed, as devices plug directly into the power pack for 10050 mAh Internal Battery giving you up to 6X cell phone battery backup
- ALL-IN-ONE POWER BANK: The best portable phone charger for the backup needed to stay powered anytime, anywhere – the foldable wall plug functions as a wall charger adapter, and also recharges the powerbank simultaneously (Recharge = 4.6 hours)
- FAST CHARGE: Spend less time charging with the HubMax android and iphone portable charger power bank. Power Delivery and Quick Charge 3.0 (Micro USB Cable) will charge your devices up to 2.4x faster than the original charger cube for Apple iPhone.
- VERSATILE CHARGING SOLUTION: With a powerful phone battery bank, battery pack charger portable, you can charge multiple devices simultaneously, making it ideal for sharing with friends or family.
- QUALITY YOU CAN TRUST: This portable charger with cords successfully passed certifications that are required for any portable charger that plugs into the wall. This is a quality portable charger for multiple devices.
And the best thing about it is whenever your Fuel Rod (aka: portable battery stick) is dead, you simply deposit it in the nearest Fuel Rod vending machine for a brand new, fully charged one.
- THE ORIGINAL FUELROD: FuelRod is still the sleek and compact portable charger that allows you to recharge your mobile devices while on the go.
Fuel Rods are just a one time purchase of $30 (when on Disney property) and the best thing is, you can always have one on your person to take home, recharge, and use whenever, and however you want!
Read Next: How to Find the BEST Vacation Home Rentals Near Disney World
In Conclusion…
My Disney Experience really is the future of all theme park experiences! It allows your park visit to be more efficient and customizable, so everybody wins.
Do you have any My Disney Experience tips or tricks that I missed? Let us know in the comments below! Because here at ThemeParkHipster, we love to get better, together.
Until next time, Happy Park Hopping Hipsters!

About the Author
Gina is a former Walt Disney World and Disney Cruise Line Cast Member who enjoys reliving the magic by writing helpful tips and tricks for future guests!
Check out more about her Disney adventures and writing endeavors here on ThemeParkHipster or Florida Hipster!
Are you planning a Disney vacation soon? Get the ULTIMATE Disney World Vacation Planning Guide for your next dream trip TODAY!
(Original Article Date: May 21, 2021/Updated by Editor on May 29, 2024)

